How to Create a CV on Reventify
A walk-through of all the most important sections in our CV builder from start to finish
Step 1: Select the “Create a CV” option
The first section of the process has three main features: Create a CV, Job scan, and Job search. Start by selecting the create a CV feature.

Step 2: Registration and Authentication
You are a few steps away from creating your first CV. To help us provide the right information for you, it is mandatory you provide us with some details by registering on the platform. You can choose to register via Google, LinkedIn, or with your email address.
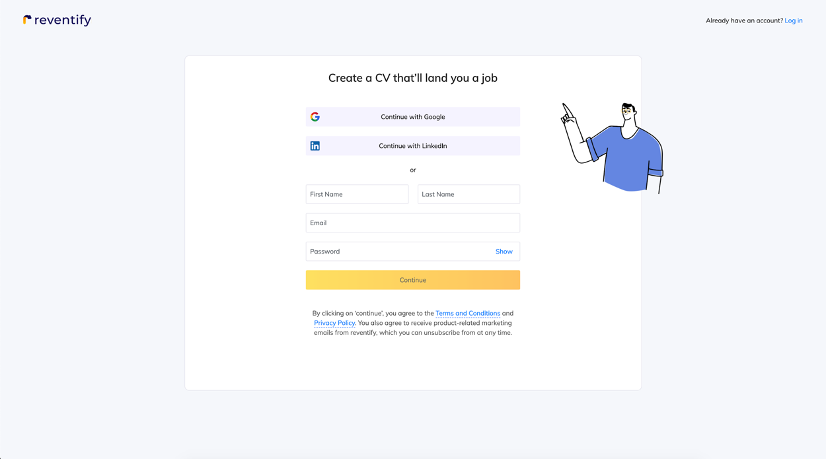
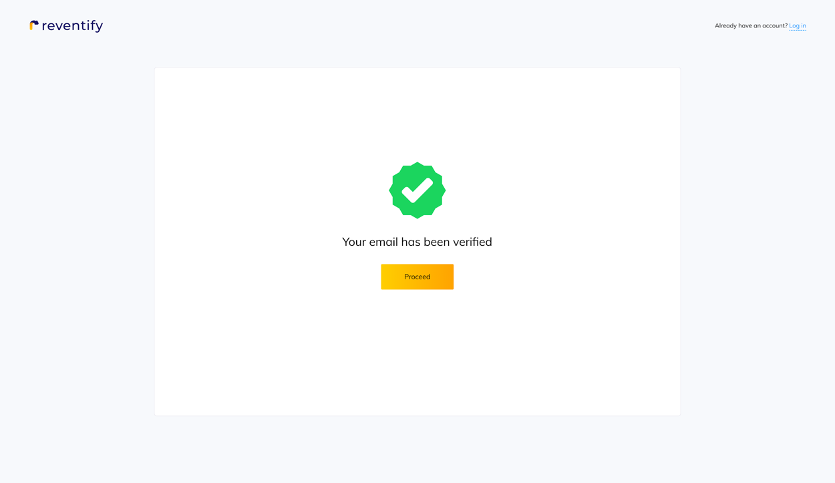
If you choose the email method of registration, a message will be sent to your inbox to verify your account with us.

After verification, Yeahh! You can now proceed to create your CV.
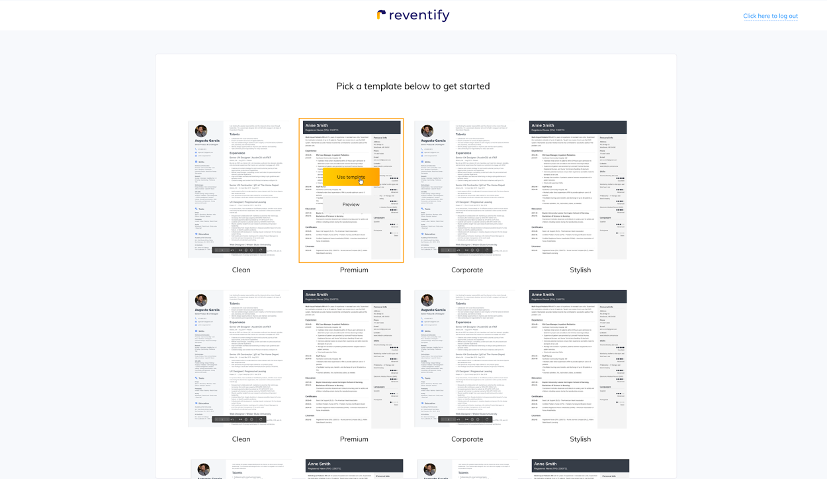
Step 3: Preview & Choose a Template
Start by selecting and previewing a template with a design that is complementary and relevant to your industry. Don’t worry too much about your template choice in the beginning. You can always switch to another template and maintain the same information once your CV is complete.
Step 4: Personalize your CV
Add your personal details and keep in mind that this is the very first section someone will look at, so you want to make sure you’re making a good impression. The hint section helps you get on track by providing insightful suggestions.
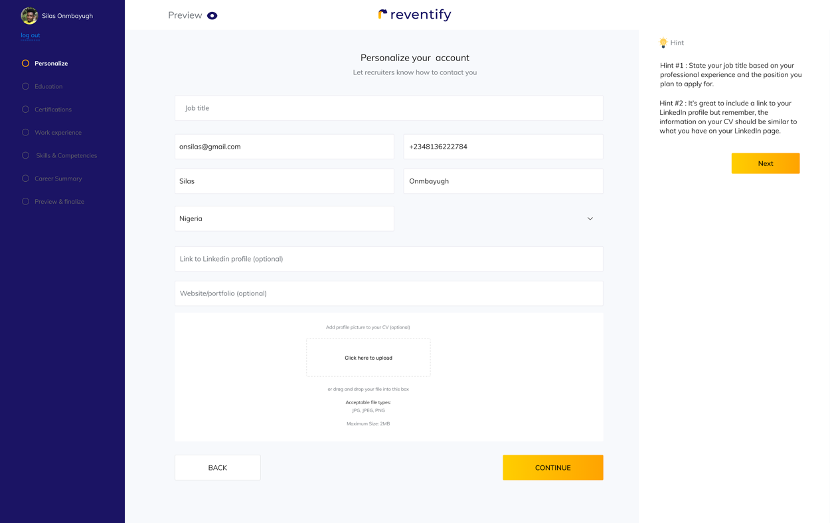
Here are a few fields in the Personal Details section worth noting:
- CV Headline: this is your professional title. You’ll increase the chances of your CV being read if it’s the job title that you are applying for. This field goes at the very top of your CV and it is a great way to customize your CV for each JOB application. If you have a certified designation, you could consider adding it next to your surname 🙂
- Photo: Only use a photo CV if it’s a contributing factor to getting hired. Some jobs in the travel, creative, and entertainment industry might ask for a headshot, hence, include only professional-looking photos with a plain background on your CV
Step 5: Add Educational Details
In this section, it is advised to provide all the necessary educational information that is relevant to the job you’re applying for.

As a rule of thumb, always include your highest level of education first. If you have a Master’s Degree, it isn’t necessary to include your High School details.
PS: Hints are provided to guide you through the process. More than one educational background can be added to this section.
Step 6: Add Certifications
Certifications give you an edge in the Job hunt industry. Add only relevant certifications based on the types of jobs you’ll be applying for.

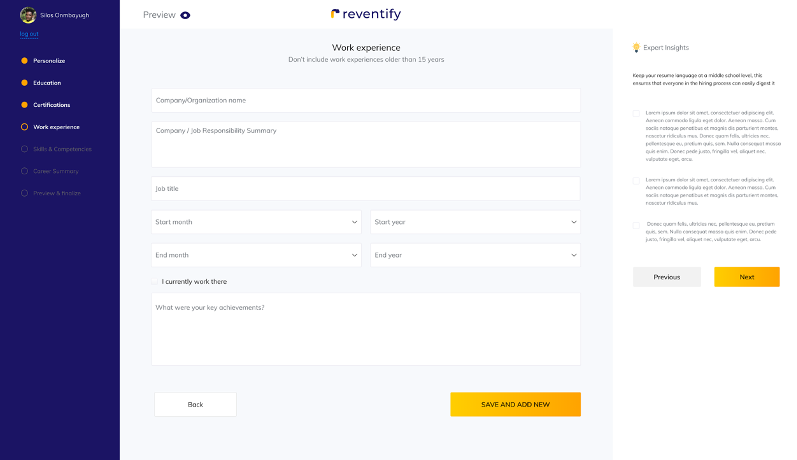
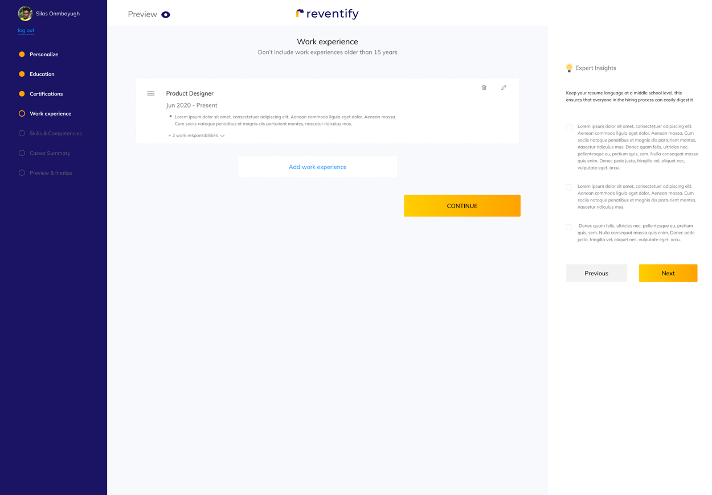
Step 7: Add Work experience
This is the main part of your CV. Include roles that are no longer than your last 15 years of professional experience.
Step 8: List your Skills
The Skills Section is a great way to communicate details about yourself in a format that requires very few words and space. Review the job listing you intend to apply for and use some of the keywords stated in the job description/requirements.

Step 9: Write your Career Summary
Your career summary is your chance to catch a reader’s attention using 3-4 simple sentences about your overall career journey, your match for the role, and your intentions for the future.

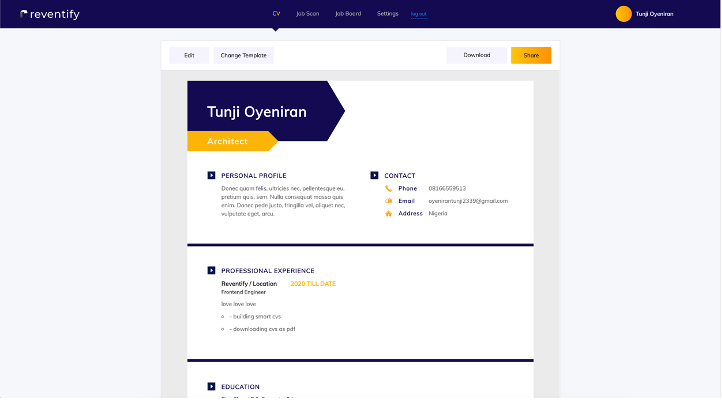
Step 10: Preview & Edit CV
Congratulations! You made it to the final step of your CV creation. Take your time to preview and edit your Cv especially if you are not on a paid plan. PS: You have to upgrade to a paid plan to edit your CV more than once. After you are done, hit the “Done button” and view your Cv in your dashboard.


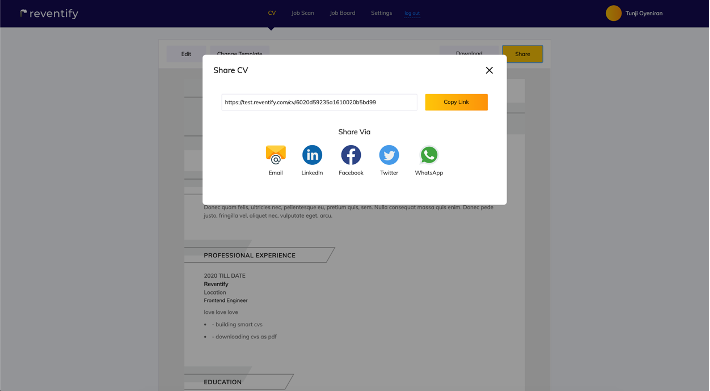
Step 11: Download or share your CV
Once you edit your resume, there are a few different steps you can take from here:
- Download your CV in pdf format.
- Copy a link or share via email and social media platforms to your network.